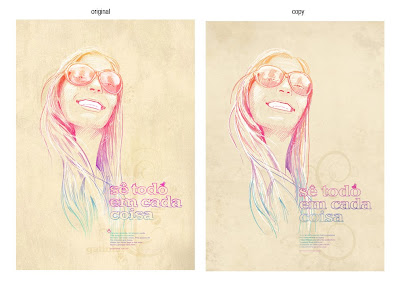
I decided to do a master copy by Portuguese Illustrator, Mario Belem. I really liked how loose and colorful this particular portrait of his is, and I like that he incorporated text that played on the same colors as his drawing. I think I can probably learn a lot more from this artist in the future as his collection is extremely diverse.
Here is my copy:

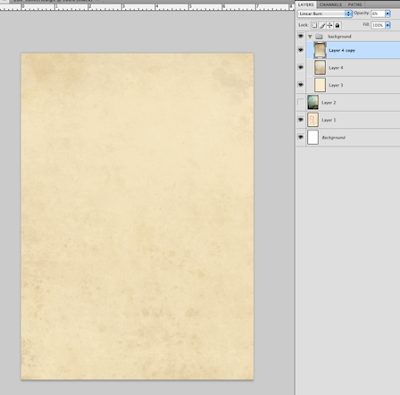
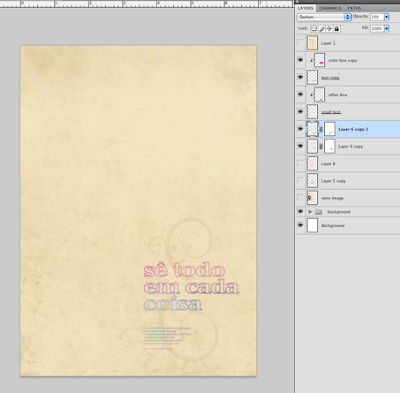
1) I started out with the background. First, a layer of flat color on bottom and then a random texture I found online that I duplicated and rotated. I applied a linear burn and decreased the opacity to both texture layers.
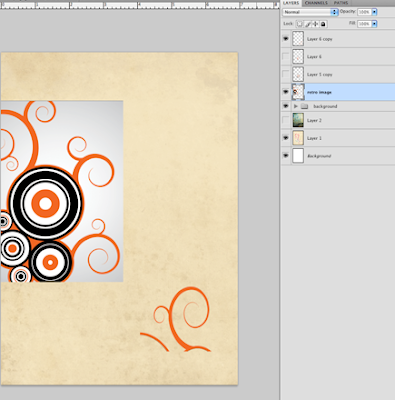
 2) I noticed he had a few subtle, swirly designs in the background as well, so I found this retro, swirl image online and isolated the part I wanted to use (the orange).
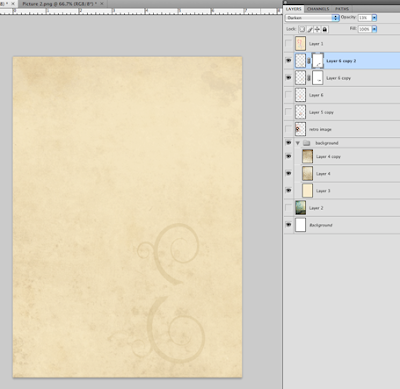
 3) I changed the color to brown, chose "Darken" from the effects drop-down menu, and lowered the opacity. I then duplicated, rotated, and transformed to fit the original the best I could.
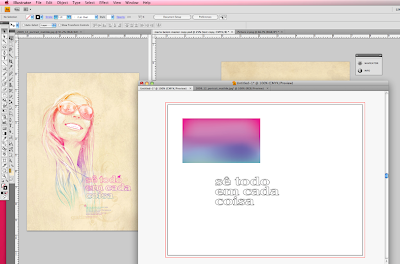
4) For the next part, I switched to Illustrator. I didn't know the exact typeface he used so I found one that looked close enough after transforming it a little bit. I made a box of color and applied a gradient mesh (Mr. Babcock's video helped a lot) filled with the colors I sampled from the original.

5) I copied both the text and the box 'as pixels' back into Photoshop, placed the box directly on top of the text, and applied a clipping mask. I repeated steps 4&5 for the paragraph of smaller text below.
*Looking back, I probably should have first applied a brush stroke to the text in illustrator to give it that "handwritten feel".

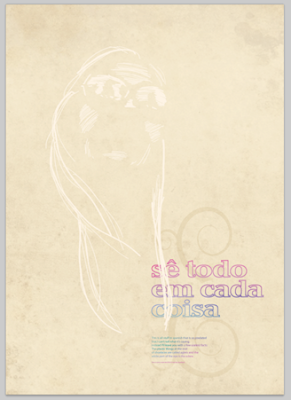
6) Next, I drew the woman in a series of layers, starting with white. I applied really loose, long brush strokes and found it necessary to draw with my entire arm instead of just my hand, otherwise the lines didn't come out straight.
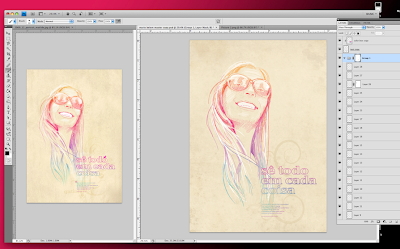
I didn't take a screenshot for each color because that would be ridiculous, but I will say there were 30-something layers, many with different opacities, some with layer masks, etc.

7) When I finished drawing, I grouped all the layers that made up the portrait together and masked out the parts that spilled over the text.
Oh, and then I drew the little, pink bird (not pictured here).

Overall, I had a lot of fun with this study. Lots of trial and error. I'm still semi-new to the wacom tablet so as you can imagine, while drawing the portrait, ctrl+z became my best friend.
Question:
Is there an easier method to apply a gradient to an entire phrase or paragraph of text instead of the clipping mask method I used? When I tried in Illustrator at first, even after creating outlines, the gradient would apply to each letter separately instead of gradually across the whole group. And that's no good.
Any other criticisms?


